
Inviting Vines 2026
A Garden of Surprises
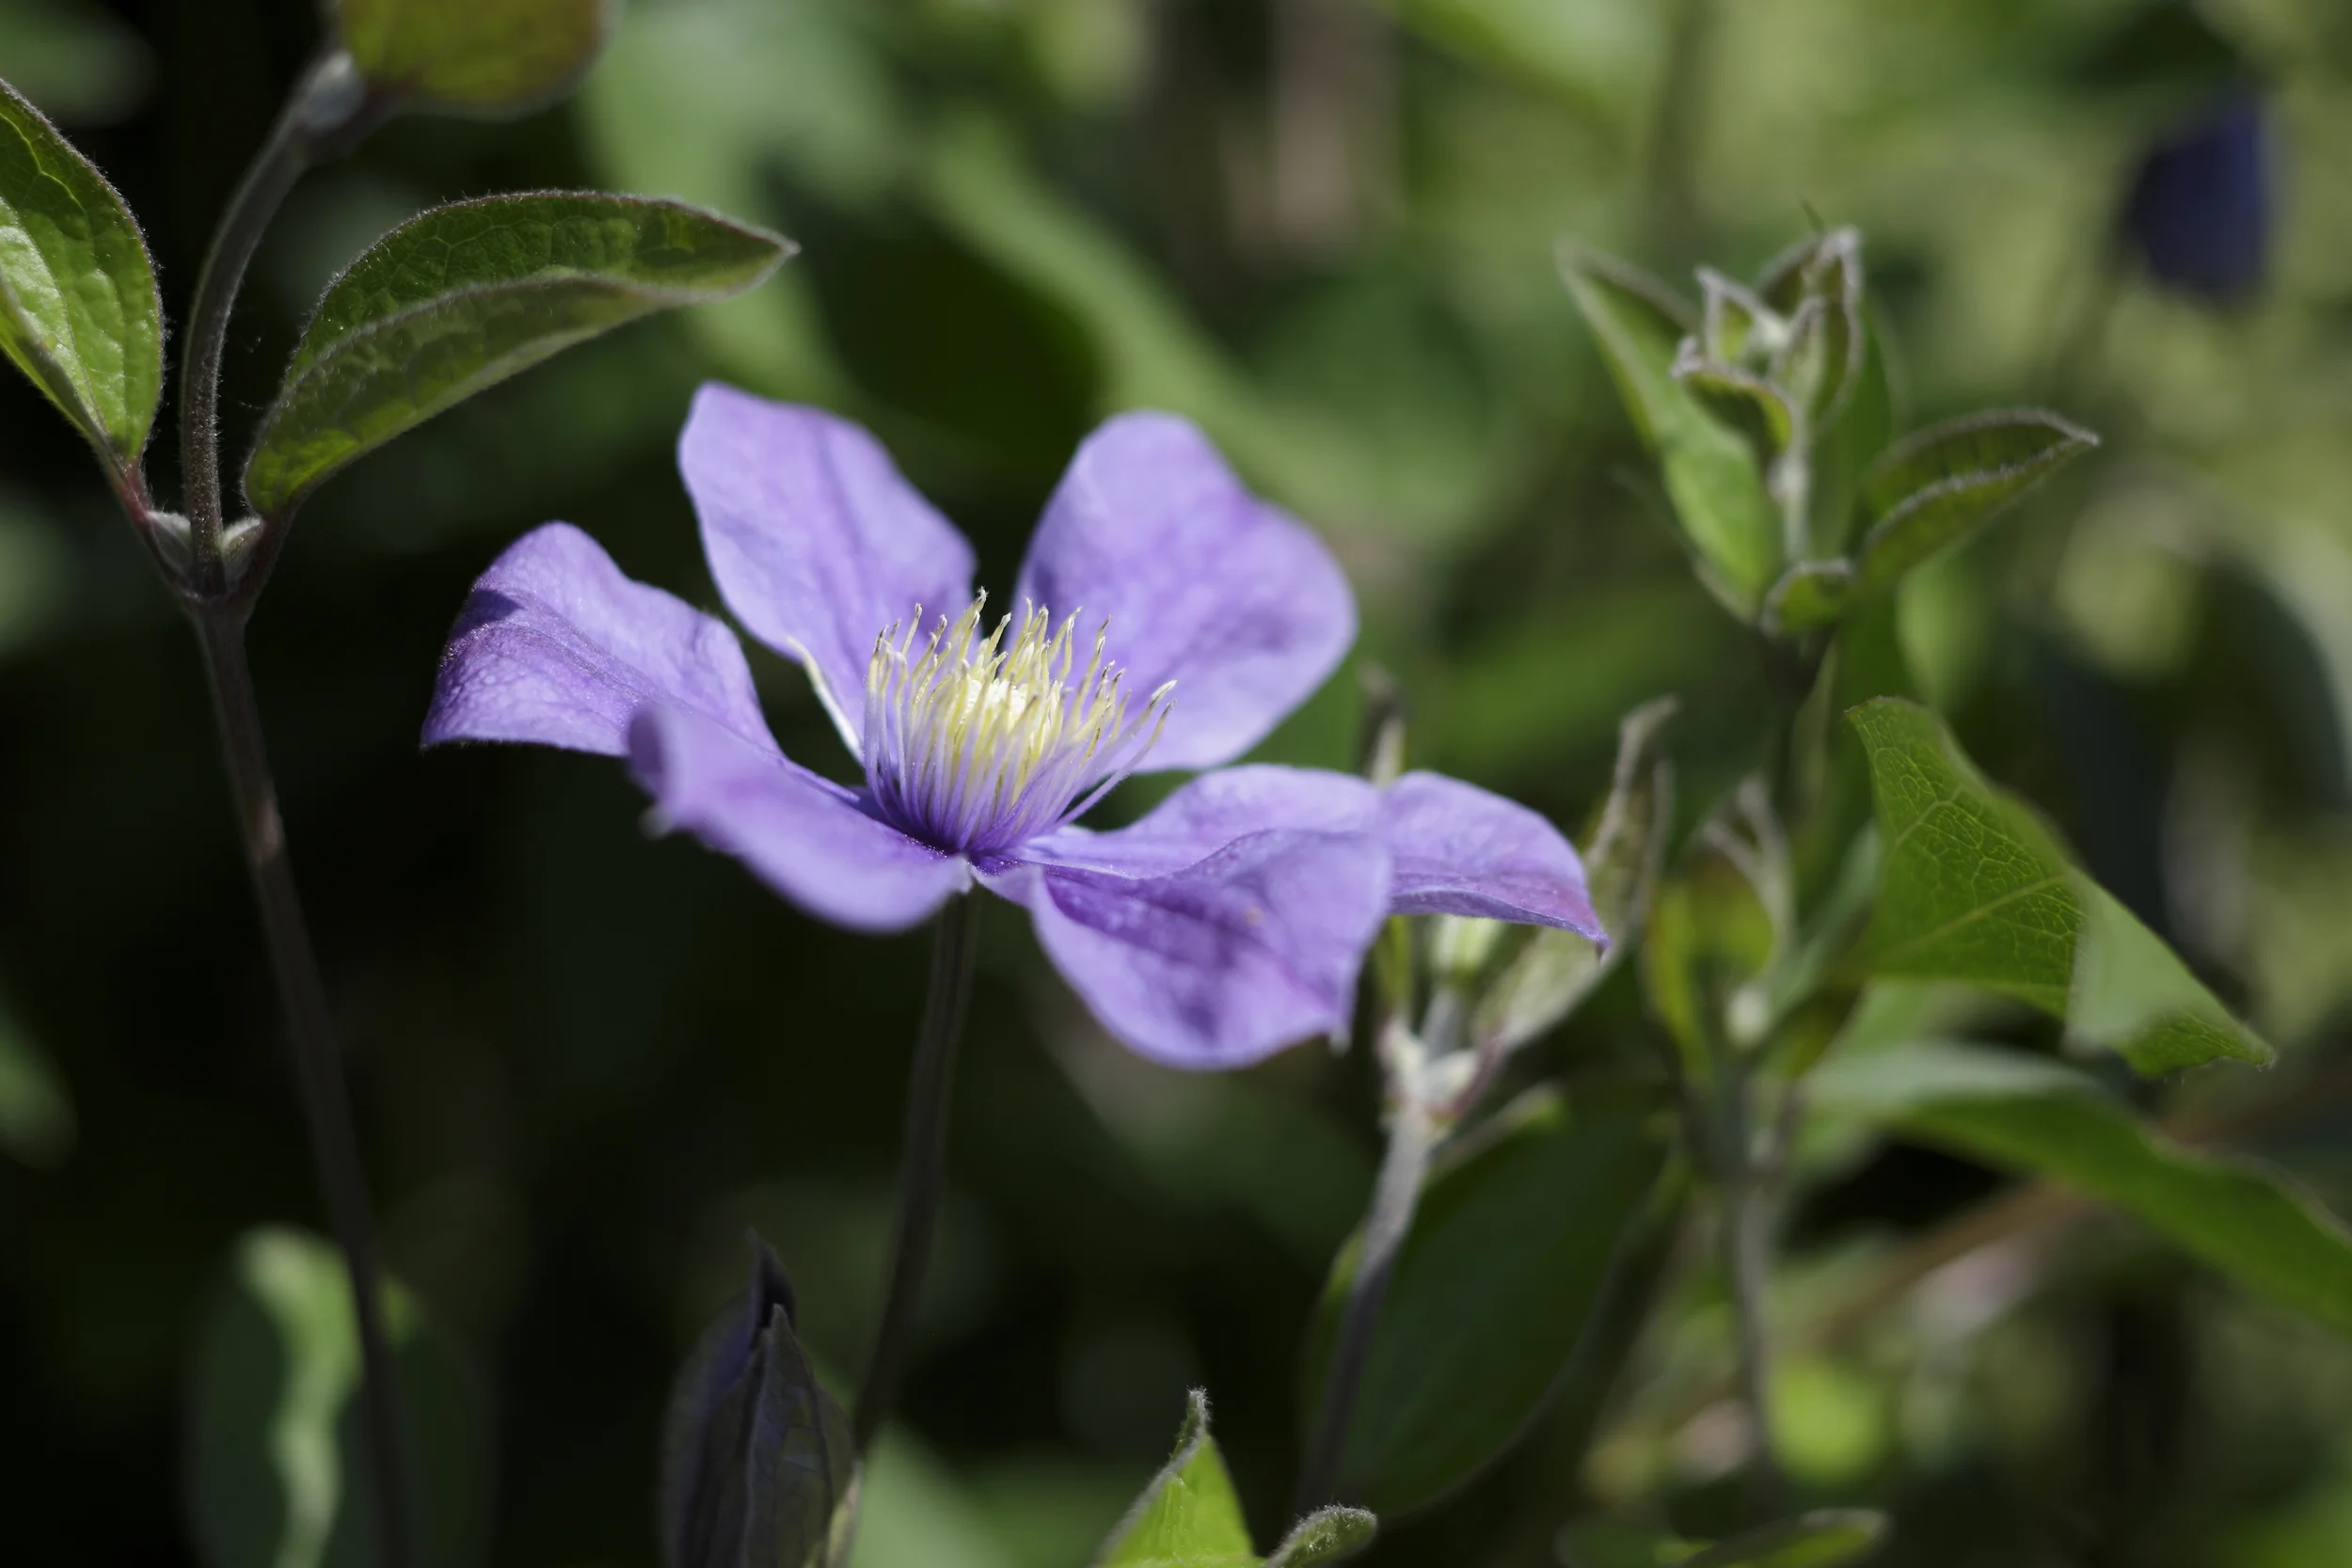
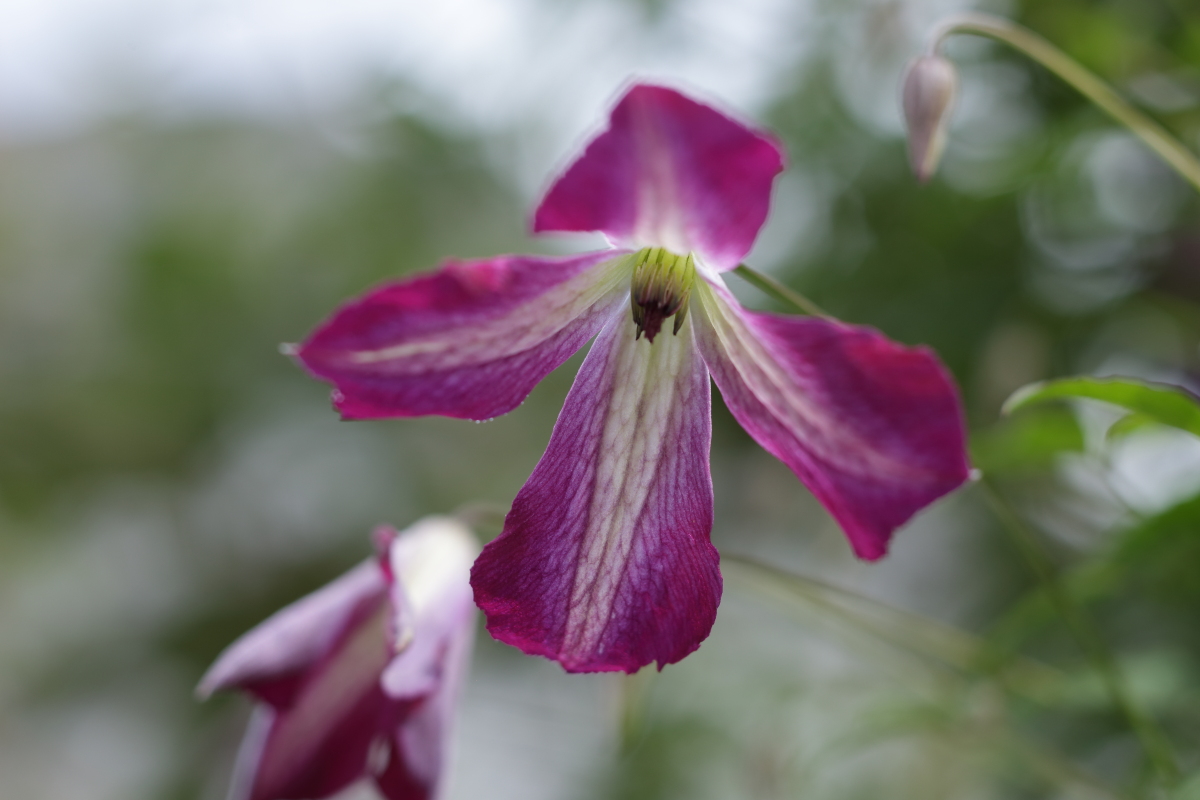
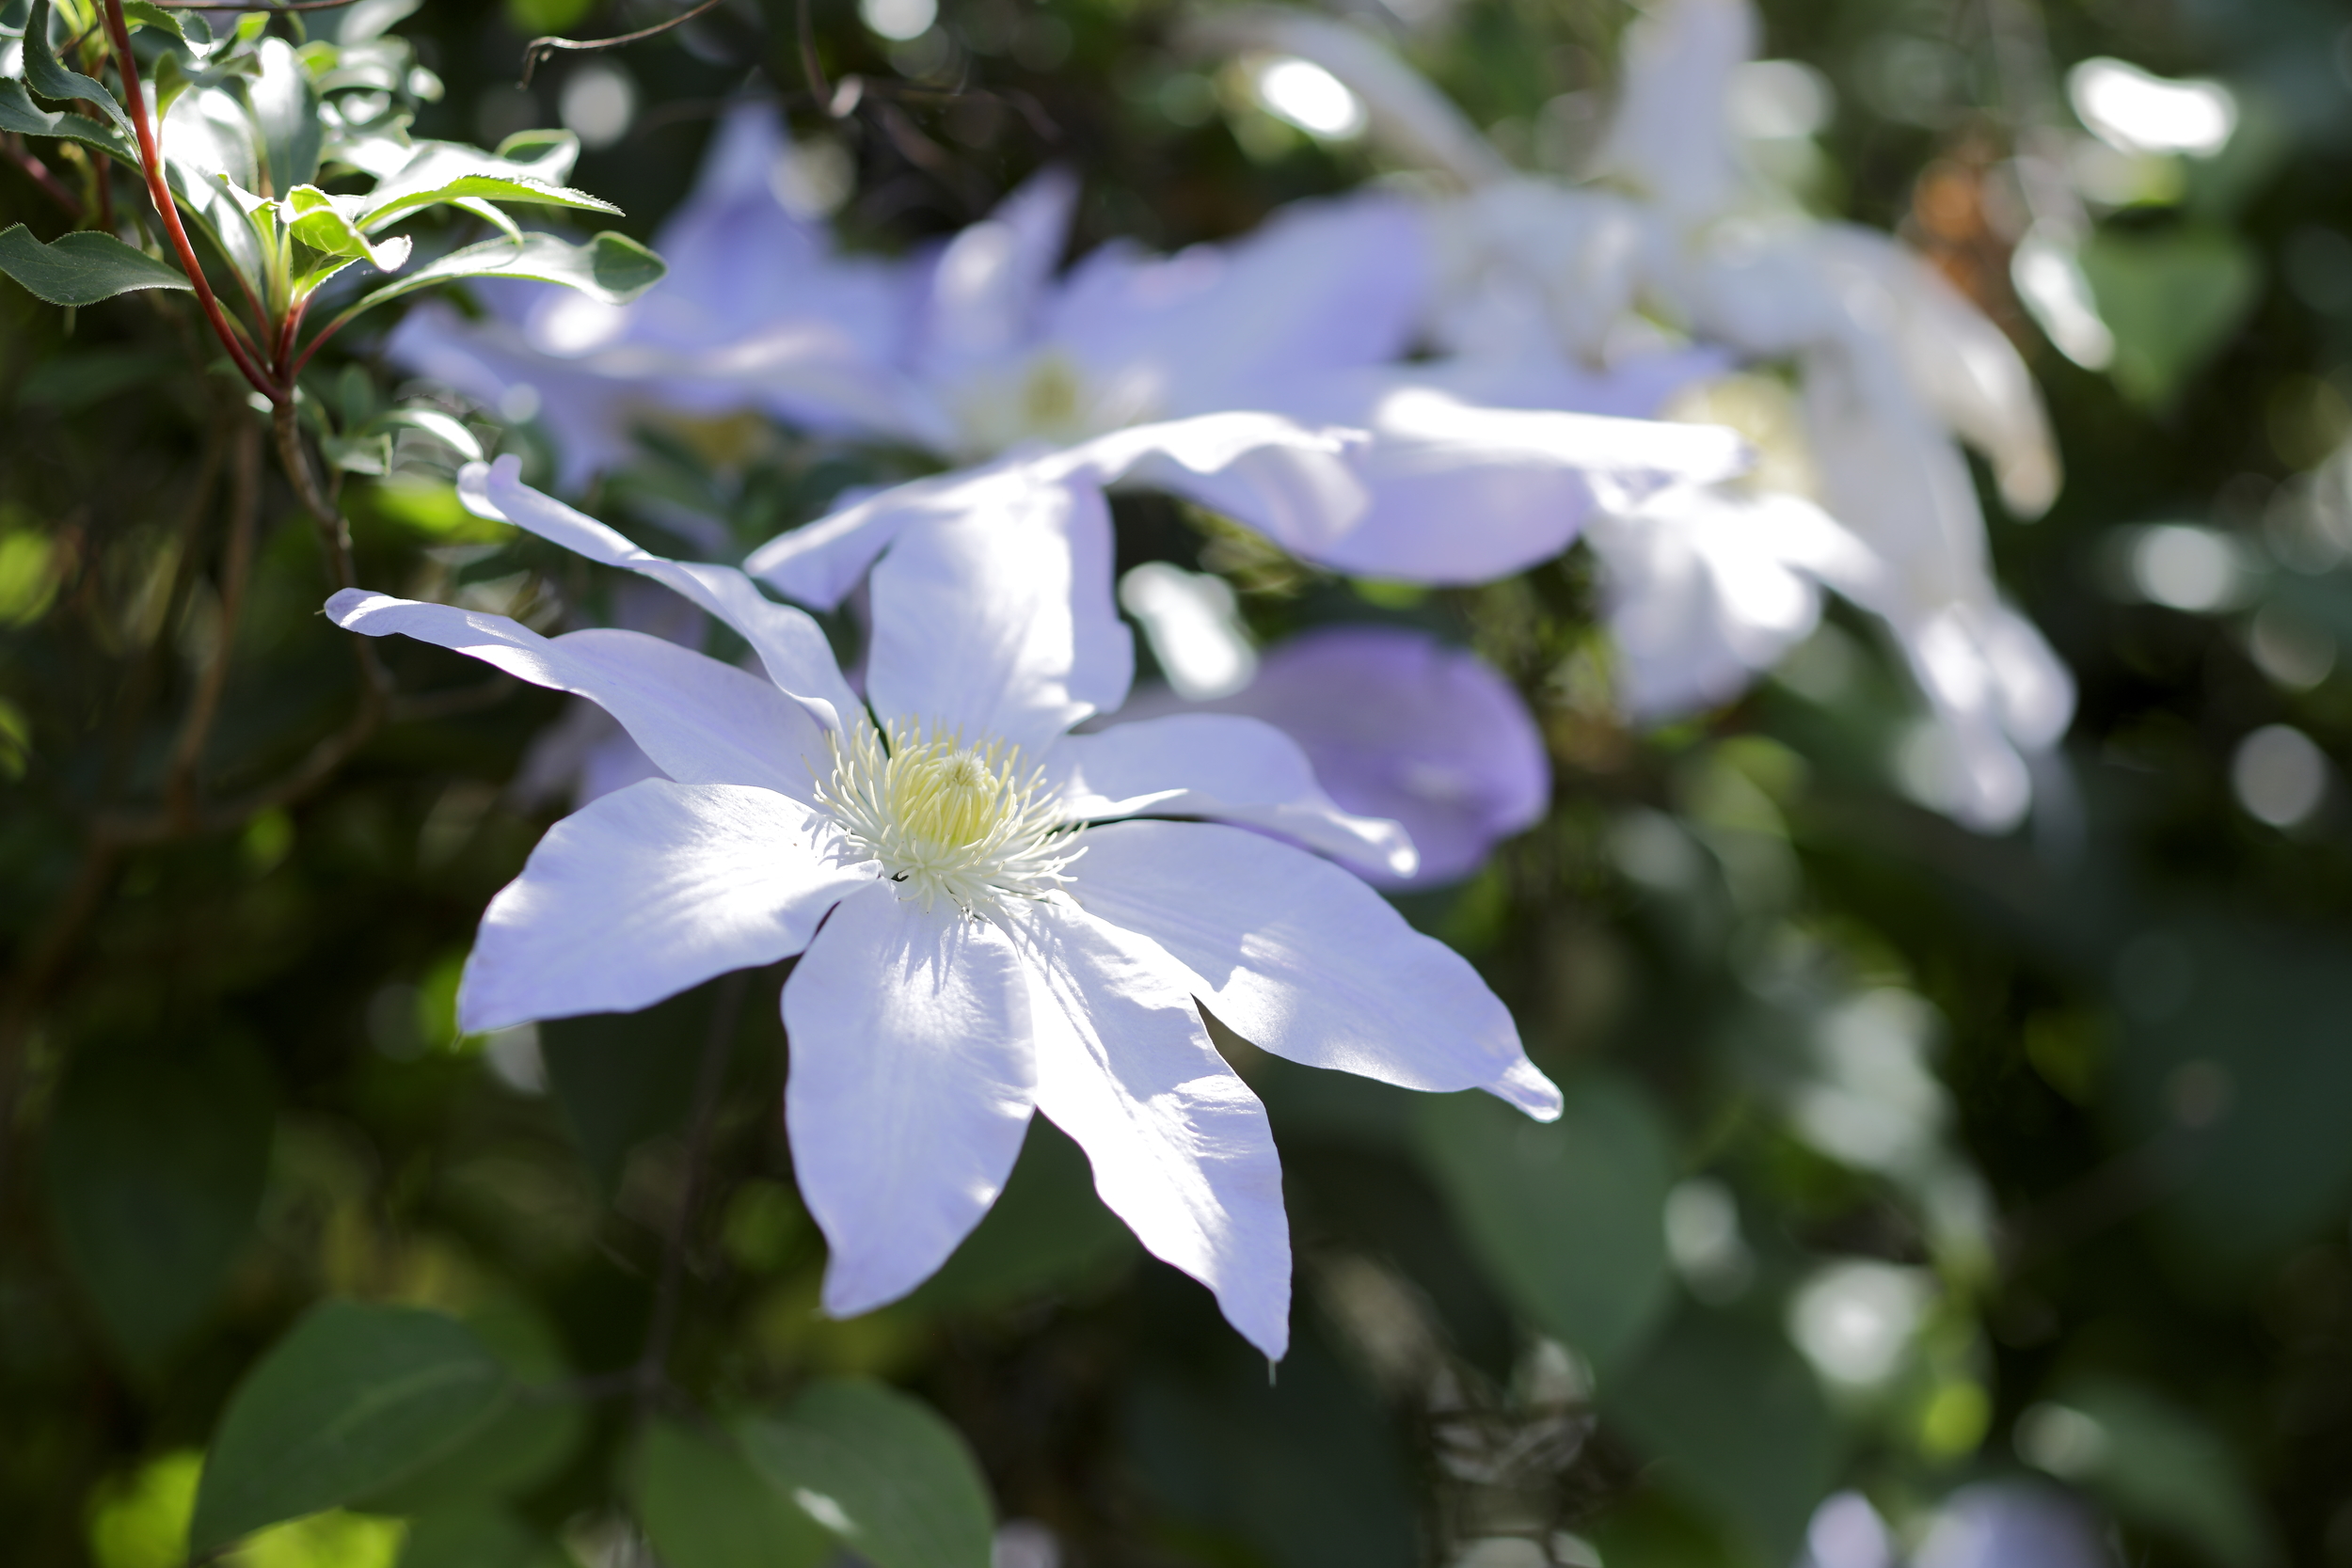
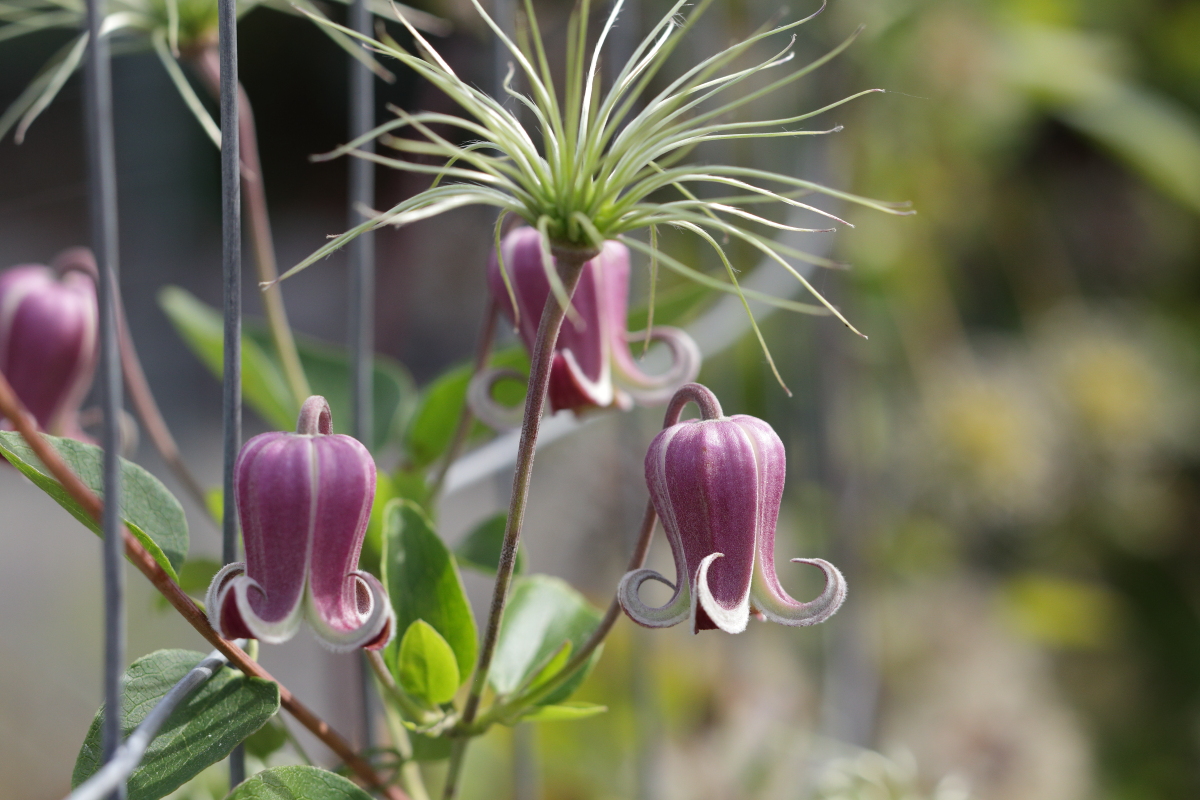
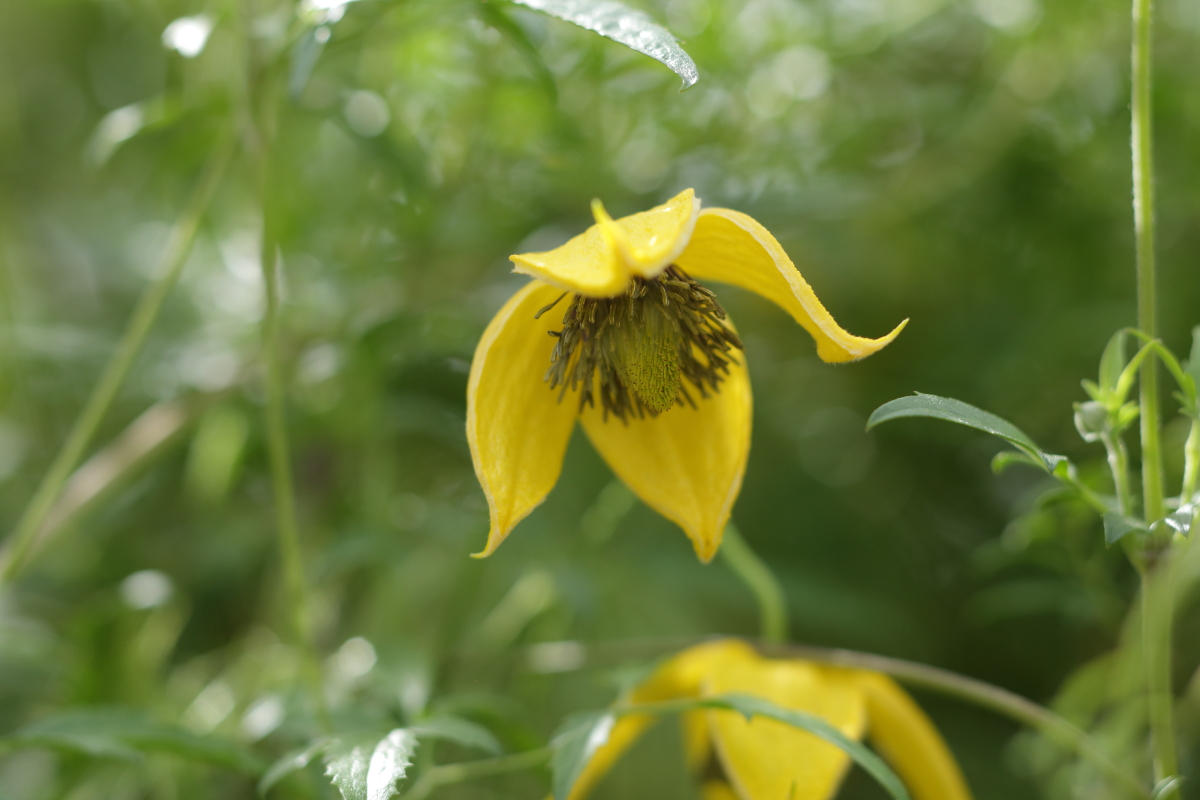
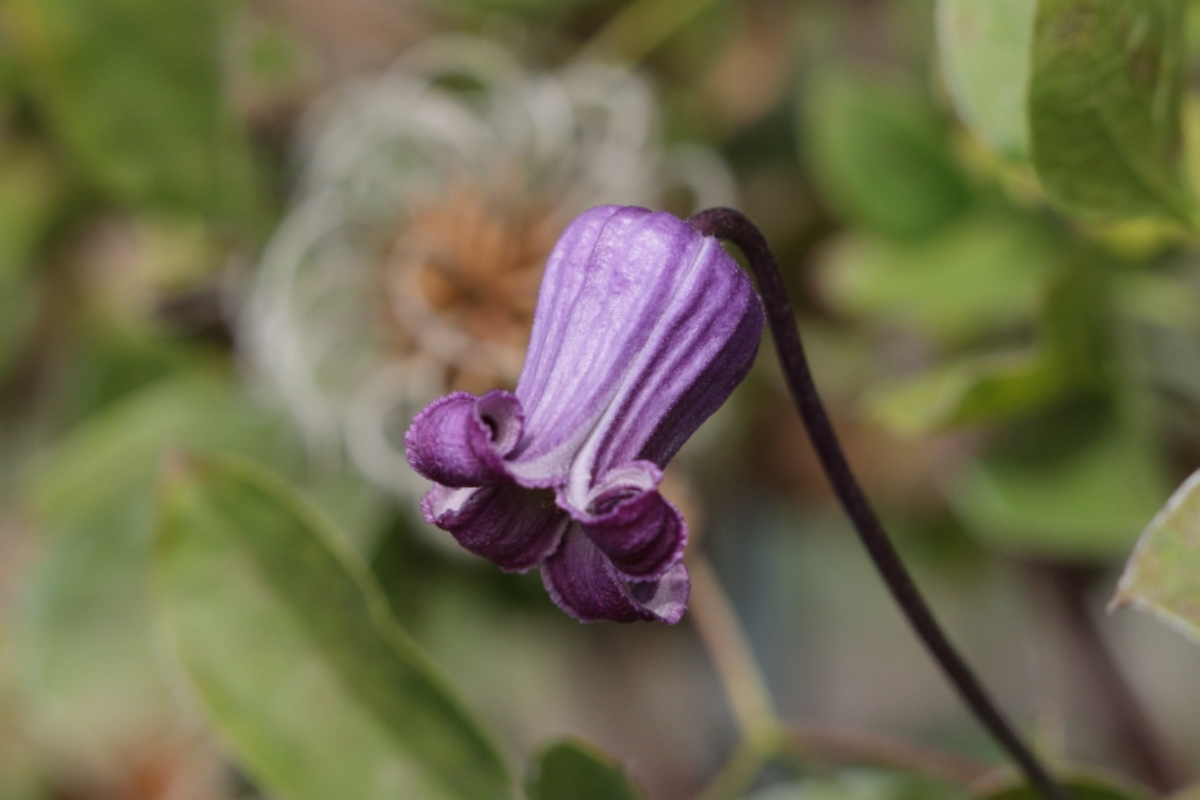
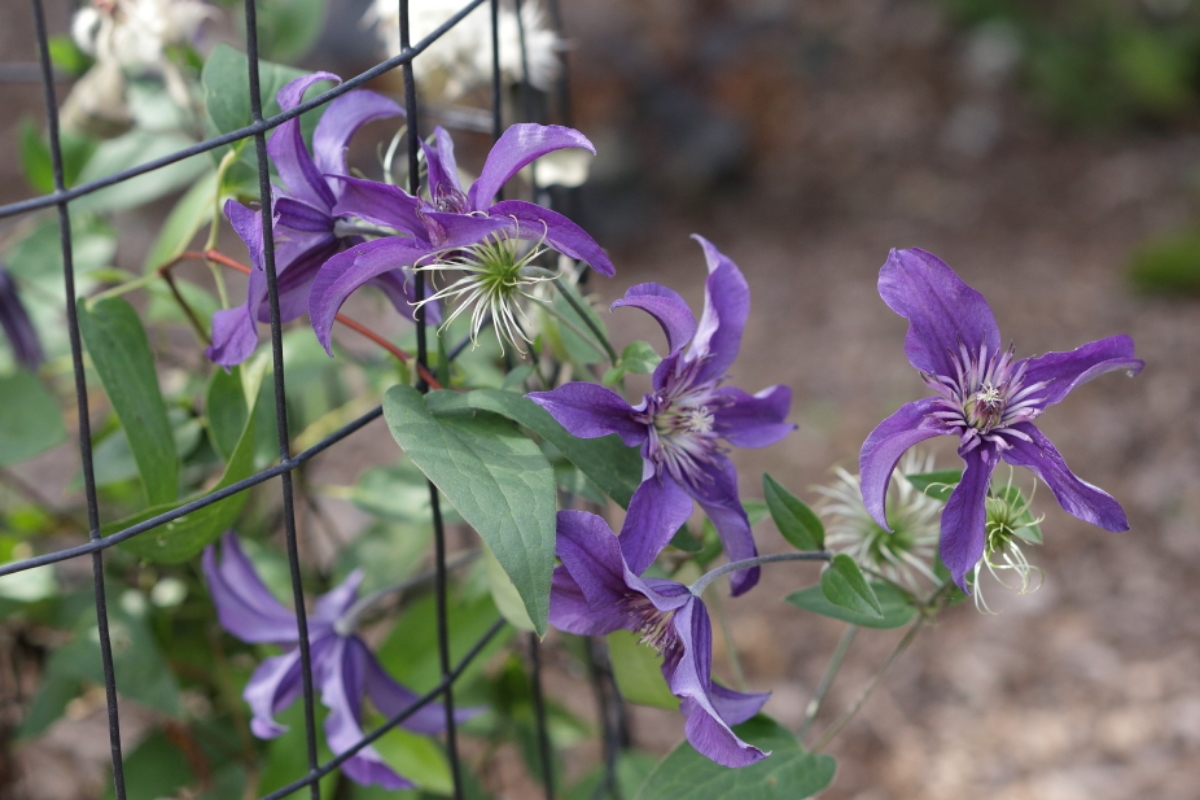
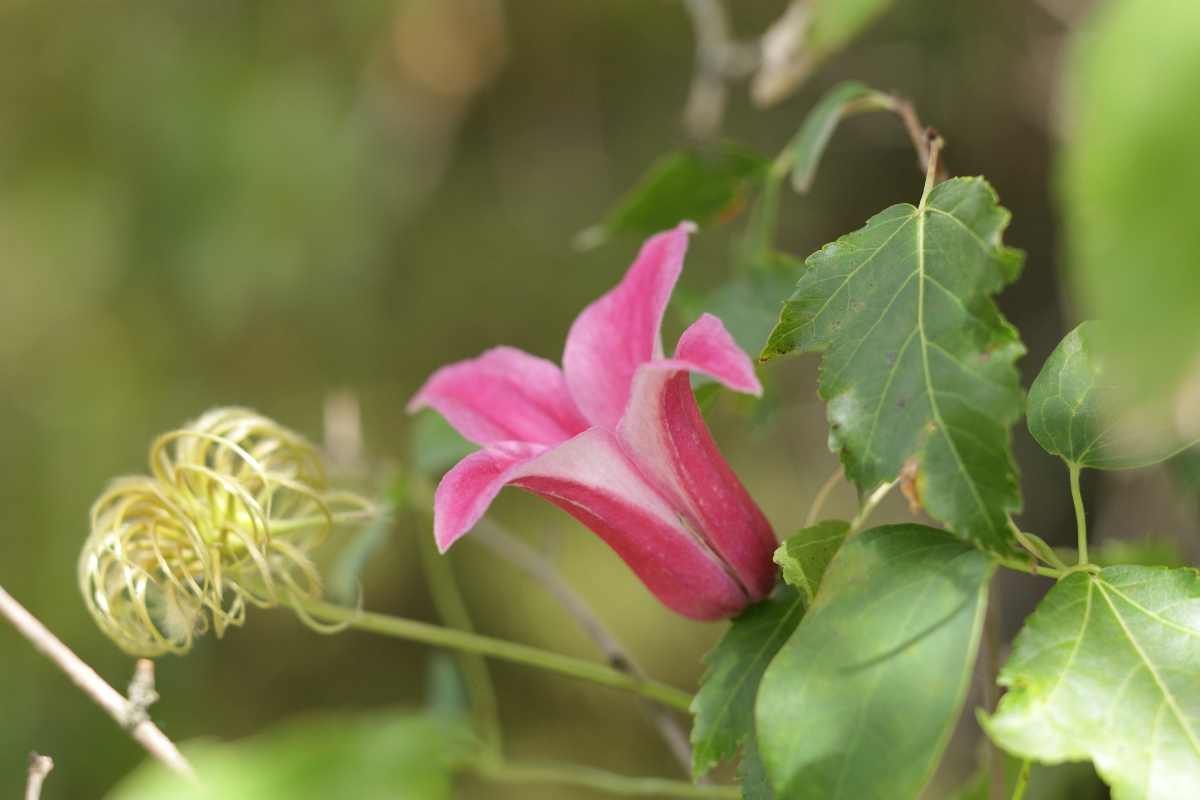
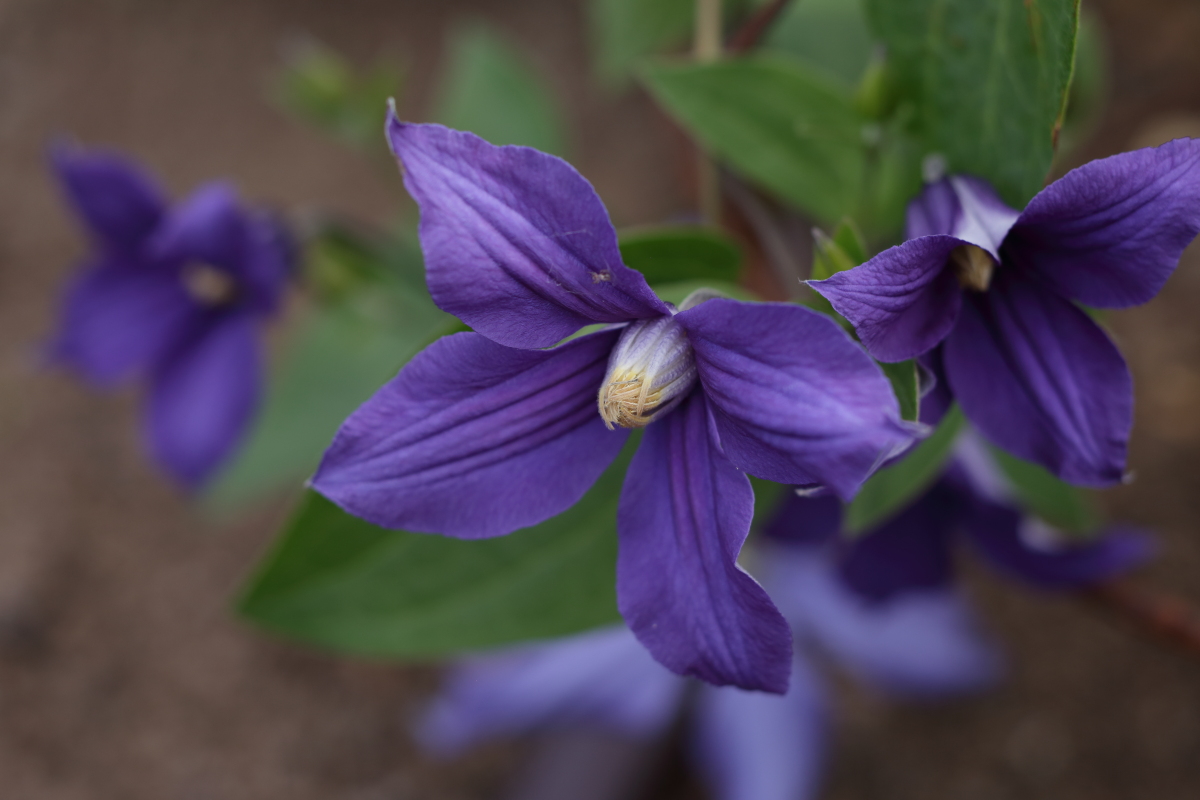
Large blooms, tiny blossoms, sprays of star-like whites, rosy trumpet flowers, and purple fairy caps – clematis come in a stunning variety of forms. Even the seed heads are spectacular – from wild, wiry tangles to feathery balls of fluff reminiscent of a Dr. Seuss book. With such wide diversity, no matter when you visit the Rogerson Clematis Garden, there’s always something in bloom: winter, spring, summer or fall. Take a stroll through the garden and discover the world of clematis. Learn more...
Want to know what's blooming before you visit? Check out What’s In Bloom!
Location: Luscher Farm Park, 125 Rosemont Rd, West Linn, OR 97068
Hours: Daily, dawn to dusk. There is no entrance fee and no parking fee.
Thanks for Your Support!
MEMBERSHIP | DONATIONS | GIFT SHOP